Ford Shelby GT500 Forum banner
41 - 60 of 76 Posts
Man… so this thread has def made me realize how much of a freak I am 😂
On this car I’ve got NO keychain or keys. I even cut the factory one off so it didn’t mess up the fob 😂.
I’ve got one in mind though…..
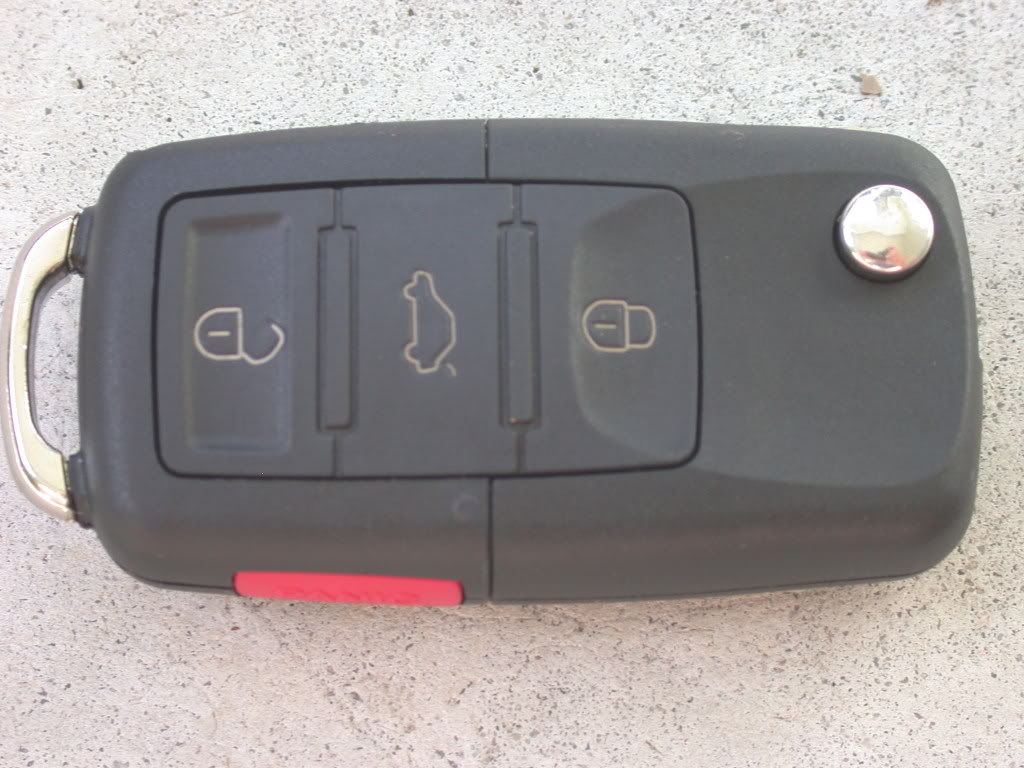
I am with you, even though I showed some key chains in my post #16, the best upgrade for me was to get rid of the "hanging stuff" and go simple..........No more keys poking me in the leg while in my pocket, no more "dangling stuff"..........


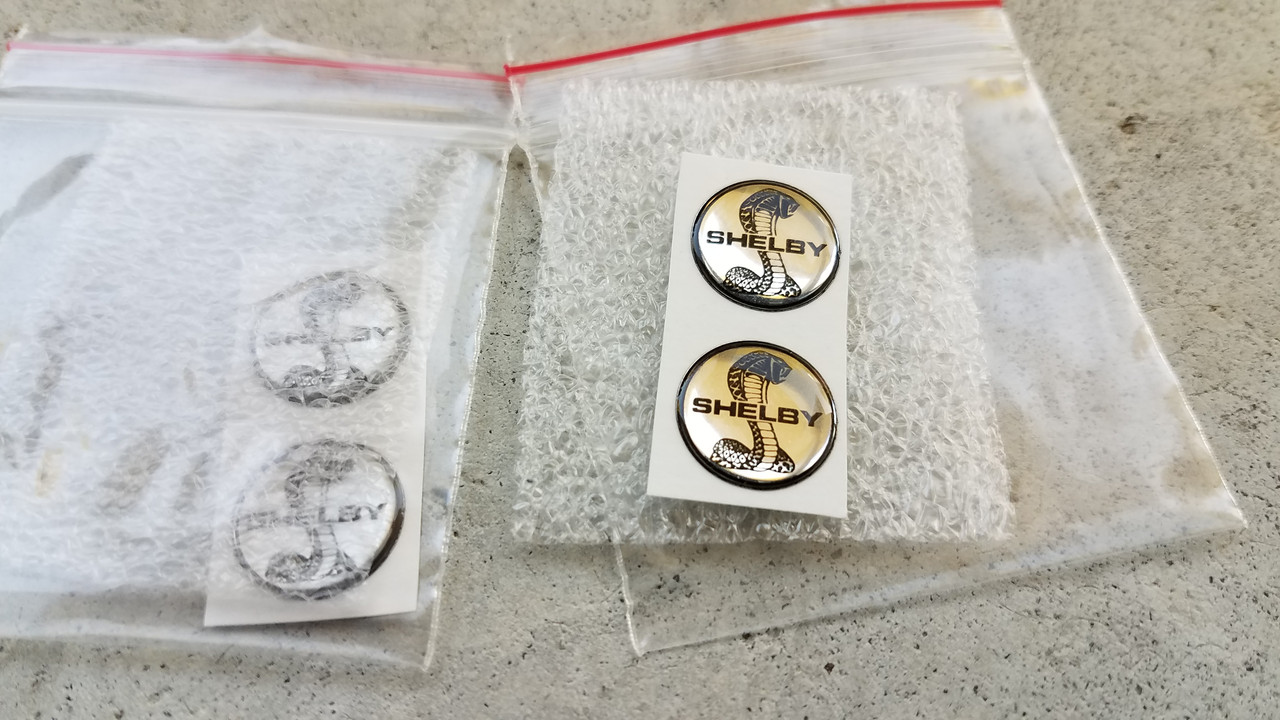
..........................and at some point I will use the tip of my knife or a pick and change out the Ford oval for a Shelby fob badge in its place..........


R
 
I’ll start by saying @Goose17 and his key board inspired me to build one. Little did I know it would be a 7 week project that taught some lessons in DIY 😂

I started with an 8 foot by 10” pine board.
Image

Did the math and 27” piece would give me 3” spacing for the gently used key hooks. started by painting the base coat.
Image

After 5 coats and sanding it had a glossy appearance worthy of holding my keys.
Image

Stripes started out well, then I realized I wanted them wider. When I started sanding the heat 110+ humidity caused my stripes to melt in a gooey mess.
Image

well this board was completely ruined. Time to start over and apply the lessons learned on the first one. I tried scraping the paint off then sanding and it still looked horrible.

Image

Image

Round two with a fresh piece of wood made all the difference! Only 3 coats of base and 2 coats of stripe paint had me happy happy happy! I let it dry inside so the heat didn’t bubble the paint like I experienced on the first piece. Repurposed my 25k plugs from the Shelby F150, cut the holes just a tad small so the plugs would screw into the wood. Only 1 more step left!
Image

Finished product! Only waited 6 weeks for my sister-in-law to finish the decals so I could put them on.

Ya I know the Snakes are facing the same direction I’m fine with it. The program made the images wonky when she tried flipping it.

Fun project full of 4 letter words! 😂😂
 
I’ll start by saying @Goose17 and his key board inspired me to build one. Little did I know it would be a 7 week project that taught some lessons in DIY 😂

I started with an 8 foot by 10” pine board.
View attachment 244219
Did the math and 27” piece would give me 3” spacing for the gently used key hooks. started by painting the base coat. View attachment 244220
After 5 coats and sanding it had a glossy appearance worthy of holding my keys.
View attachment 244221
Stripes started out well, then I realized I wanted them wider. When I started sanding the heat 110+ humidity caused my stripes to melt in a gooey mess.
View attachment 244223
well this board was completely ruined. Time to start over and apply the lessons learned on the first one. I tried scraping the paint off then sanding and it still looked horrible.

View attachment 244224
View attachment 244226
Round two with a fresh piece of wood made all the difference! Only 3 coats of base and 2 coats of stripe paint had me happy happy happy! I let it dry inside so the heat didn’t bubble the paint like I experienced on the first piece. Repurposed my 25k plugs from the Shelby F150, cut the holes just a tad small so the plugs would screw into the wood. Only 1 more step left!
View attachment 244227
Finished product! Only waited 6 weeks for my sister-in-law to finish the decals so I could put them on.

Ya I know the Snakes are facing the same direction I’m fine with it. The program made the images wonky when she tried flipping it.

Fun project full of 4 letter words! 😂😂
Hey at least you have the edgy snakes 🤣
Looking good!
 
I’ll start by saying @Goose17 and his key board inspired me to build one. Little did I know it would be a 7 week project that taught some lessons in DIY 😂

I started with an 8 foot by 10” pine board.
View attachment 244219
Did the math and 27” piece would give me 3” spacing for the gently used key hooks. started by painting the base coat. View attachment 244220
After 5 coats and sanding it had a glossy appearance worthy of holding my keys.
View attachment 244221
Stripes started out well, then I realized I wanted them wider. When I started sanding the heat 110+ humidity caused my stripes to melt in a gooey mess.
View attachment 244223
well this board was completely ruined. Time to start over and apply the lessons learned on the first one. I tried scraping the paint off then sanding and it still looked horrible.

View attachment 244224
View attachment 244226
Round two with a fresh piece of wood made all the difference! Only 3 coats of base and 2 coats of stripe paint had me happy happy happy! I let it dry inside so the heat didn’t bubble the paint like I experienced on the first piece. Repurposed my 25k plugs from the Shelby F150, cut the holes just a tad small so the plugs would screw into the wood. Only 1 more step left!
View attachment 244227
Finished product! Only waited 6 weeks for my sister-in-law to finish the decals so I could put them on.

Ya I know the Snakes are facing the same direction I’m fine with it. The program made the images wonky when she tried flipping it.

Fun project full of 4 letter words! 😂😂
Image
 
I’ll start by saying @Goose17 and his key board inspired me to build one. Little did I know it would be a 7 week project that taught some lessons in DIY 😂

I started with an 8 foot by 10” pine board.
Did the math and 27” piece would give me 3” spacing for the gently used key hooks. started by painting the base coat.
After 5 coats and sanding it had a glossy appearance worthy of holding my keys.

Stripes started out well, then I realized I wanted them wider. When I started sanding the heat 110+ humidity caused my stripes to melt in a gooey mess.

well this board was completely ruined. Time to start over and apply the lessons learned on the first one. I tried scraping the paint off then sanding and it still looked horrible.


Round two with a fresh piece of wood made all the difference! Only 3 coats of base and 2 coats of stripe paint had me happy happy happy! I let it dry inside so the heat didn’t bubble the paint like I experienced on the first piece. Repurposed my 25k plugs from the Shelby F150, cut the holes just a tad small so the plugs would screw into the wood. Only 1 more step left!
View attachment 244227
Finished product! Only waited 6 weeks for my sister-in-law to finish the decals so I could put them on.

Ya I know the Snakes are facing the same direction I’m fine with it. The program made the images wonky when she tried flipping it.

Fun project full of 4 letter words! 😂😂
I like your Cobra key chain board. You did a nice job on it.
 
Live footage of Chris after the pin stripe incident and having to start over ….
I plead the 5th on the disposition of the first board 😂😂😂😂
 
I have three spare Shelby keychains, if anyone wants one of them, pm and send me some postage and you can have it for free.
View attachment 240855
Post bump from a ways back, these still available? They seem really cool. Happy to provide packing and postage funds if so.
 
41 - 60 of 76 Posts